
manual olympus om 1
The Olympus OM-1 is a high-performance digital camera designed for professionals and enthusiasts․ Its advanced features and intuitive design make it a versatile tool for capturing exceptional images․ The manual is essential for unlocking its full potential, ensuring optimal performance and a seamless user experience․ Discover how to master its capabilities and elevate your photography․
1․1 Overview of the Olympus OM-1 Camera
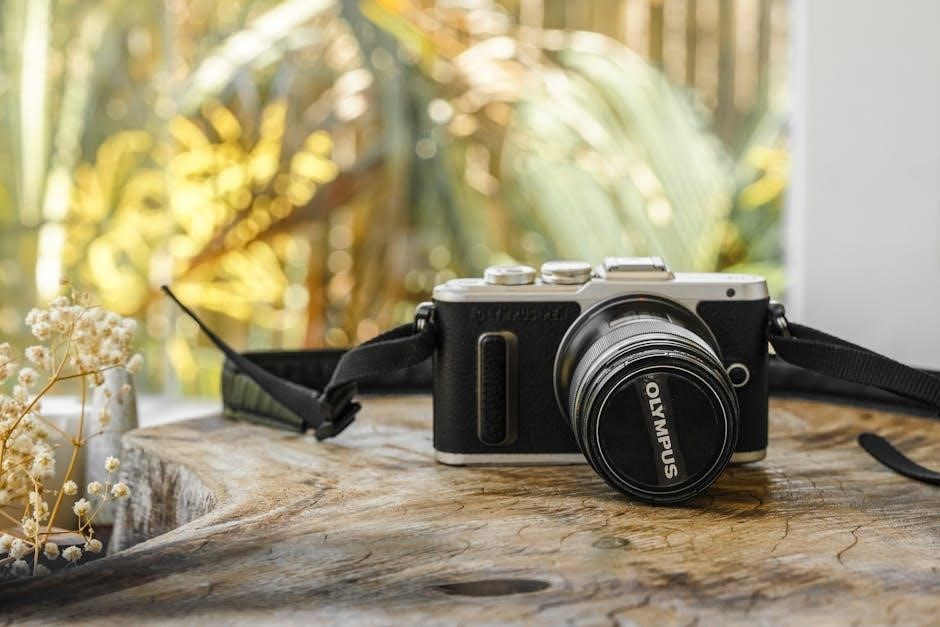
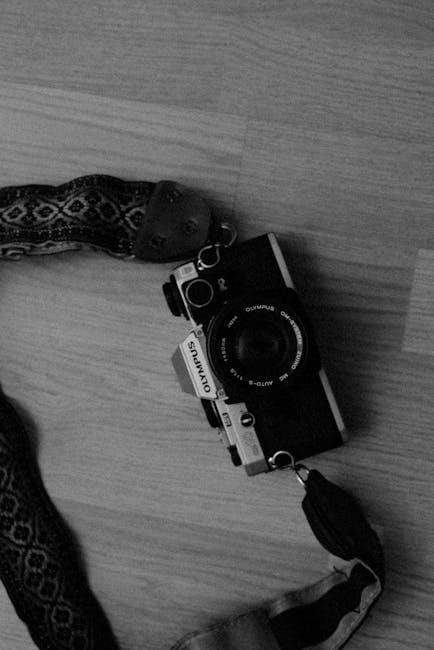
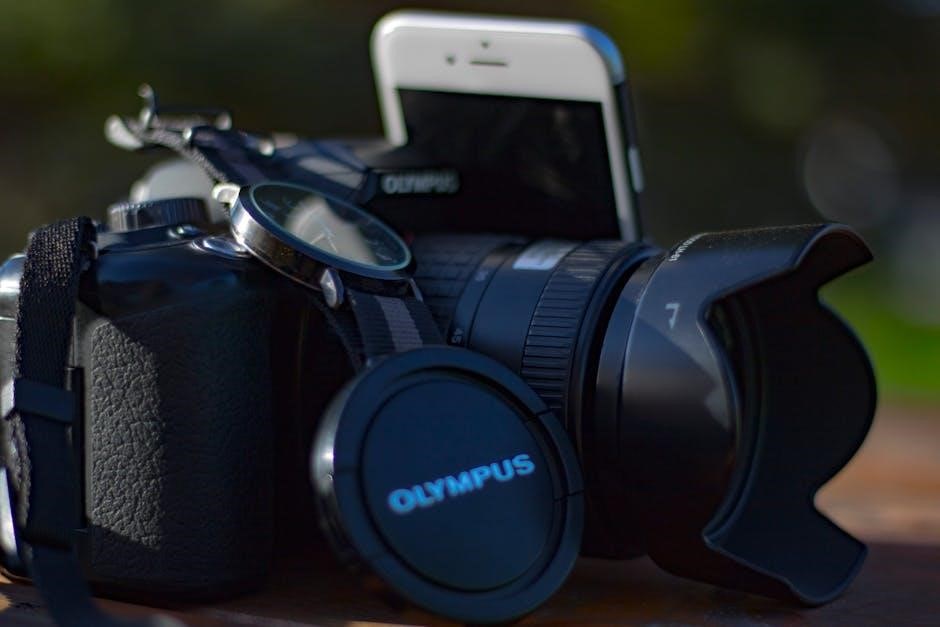
The Olympus OM-1 is a powerful digital camera designed for professionals and enthusiasts․ It features a 20․4MP Live MOS sensor, 5-axis image stabilization, and a 50MP high-res shot mode․ The camera supports 4K video recording and boasts a weather-sealed body for durability․ With advanced autofocus, burst shooting, and a long-lasting battery, the OM-1 excels in various photography genres, from landscapes to wildlife․ Its intuitive controls and robust build make it a reliable choice for capturing high-quality images in diverse conditions․
1․2 Importance of the Manual for Optimal Performance
The manual is essential for understanding the Olympus OM-1’s features, settings, and troubleshooting․ It provides detailed guidance on optimizing camera performance, ensuring users can unlock its full potential․ Whether you’re a professional or a beginner, the manual offers clear instructions for mastering the camera’s functions, from basic operations to advanced customization․ Regularly reviewing the manual helps users stay updated on best practices and maintain the camera’s longevity, ensuring exceptional results in every shot․
Basic Features of the Olympus OM-1
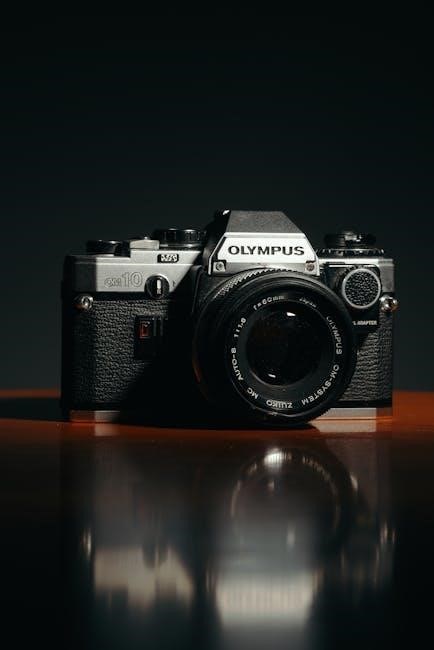
The Olympus OM-1 features key buttons, dials, and a viewfinder for intuitive control․ It supports film speed settings, aperture, and shutter priority modes, ensuring precise photography․
2․1 Key Buttons and Dials
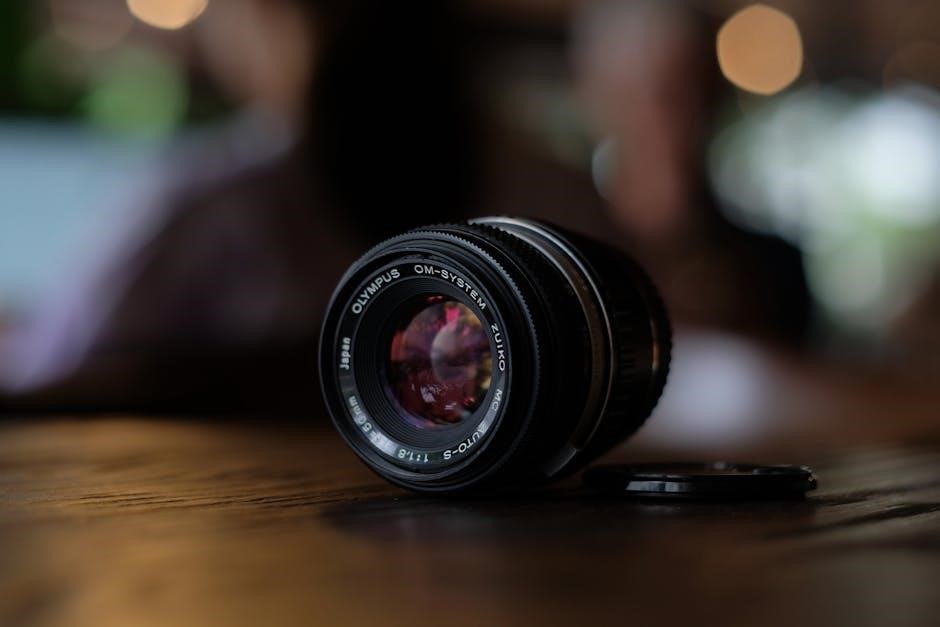
The Olympus OM-1 features a shutter speed dial, aperture ring, and mode dial for easy access to primary controls․ The ASA dial adjusts film sensitivity, while buttons like the exposure compensation and depth-of-field preview provide precise adjustments․ Flash settings are managed via the flash unit, offering automatic or manual modes․ Each control is strategically placed for intuitive operation, ensuring photographers can quickly adjust settings to capture perfect shots in any lighting condition․
2․2 Understanding the Viewfinder
The Olympus OM-1’s viewfinder provides a clear, unobstructed view of your subject, displaying essential shooting information like aperture, shutter speed, and battery status․ A diopter adjustment ensures sharp viewing for users with vision correction․ The built-in eyecup prevents stray light from interfering with your composition․ Familiarizing yourself with the viewfinder’s layout and settings is crucial for precise control over your photography, allowing you to focus on capturing stunning images with ease and confidence․
Loading Film into the Olympus OM-1
Load film by opening the rear cover, aligning the film leader with the spool, and advancing the film using the rapid advance lever until it seats properly․
3․1 Step-by-Step Guide to Film Loading
Open the camera’s rear cover by pulling the release latch․ Insert the film cartridge, ensuring the film leader aligns with the spool․ Gently pull the film across the pressure plate and into the take-up spool․ Advance the film by turning the rapid advance lever until it stops․ Close the rear cover and check the film counter to ensure it starts at “S․” The film is now loaded and ready for use․ Always ensure the film is securely seated before shooting․
3․2 Film Rewinding Process
To rewind the film, press and hold the rewind button while turning the rewind knob clockwise․ Continue until the film counter returns to “S․” Stop when resistance decreases, indicating the film is fully rewound․ Remove the rewound film from the camera, ensuring it is securely stored to protect exposures․ Always rewind in low-light conditions to prevent accidental exposure of the film․ Proper rewinding ensures your photographs are preserved and ready for development․
Shooting Modes and Exposure Settings
Master the Olympus OM-1’s shooting modes and exposure settings to capture stunning images․ Utilize aperture, shutter speed, and ISO for precise control over lighting and effects․
4․1 Aperture, Shutter Speed, and ISO
The Olympus OM-1 offers precise control over aperture, shutter speed, and ISO, enabling photographers to tailor exposures to their creative vision․ Aperture regulates light entry and depth of field, while shutter speed controls motion capture․ ISO adjusts sensitivity to light, ensuring optimal results in various conditions․ Balancing these settings is key to achieving desired effects, whether freezing action or creating artistic blur․ Understanding their interplay allows photographers to harness the camera’s full potential for stunning imagery in any setting․
4․2 Using the Exposure Measurement System
The Olympus OM-1 features an advanced exposure measurement system, ensuring accurate light metering for precise exposures․ The galvanometer in the viewfinder provides real-time feedback, guiding adjustments to aperture, shutter speed, or ISO․ Metering modes adapt to various lighting conditions, optimizing results․ Regular calibration and understanding metering patterns enhance consistency․ By mastering this system, photographers can achieve well-balanced exposures, capturing images with the desired aesthetic effortlessly․
Using the Flash with the Olympus OM-1
Set the ASA film speed on the flash unit and adjust the shutter speed to 1/60 sec or slower for proper synchronization․ Use automatic or manual flash modes based on lighting conditions for optimal results․ Test shots are recommended to ensure accurate exposure and proper flash functionality․
5․1 Setting Up the Flash Unit
To set up the flash unit on your Olympus OM-1, begin by attaching it securely to the camera’s hot shoe․ Ensure the flash is aligned properly for optimal connectivity․ Set the ASA film speed on the flash unit to match the film loaded in your camera․ Adjust the shutter speed to 1/60 sec or slower to synchronize with the flash․ Test shots are recommended to ensure accurate exposure and proper functionality․ This setup ensures balanced lighting and sharp images in various conditions․
5․2 Automatic vs․ Manual Flash Modes
The Olympus OM-1 offers both automatic and manual flash modes for flexible lighting control․ In automatic mode, the flash adjusts power based on the scene, providing ease of use․ Manual mode allows precise control over flash output, ideal for creative adjustments; Switch between modes by adjusting the flash unit’s settings․ Use automatic for quick, balanced results and manual for tailored lighting effects․ Experiment with both to achieve the desired impact in your photographs, ensuring optimal illumination in any setting for professional-grade images․
Customizing the Camera Settings
Personalize the Olympus OM-1 to suit your preferences by adjusting various functions, ensuring optimal performance․ Explore advanced customization options to tailor the camera to your unique shooting style․
6․1 Personalizing Camera Functions
Customize the Olympus OM-1 to your preferences by adjusting settings like autofocus, metering modes, and button assignments․ Navigate the menu to personalize functions such as ISO, white balance, and burst mode․ Assign frequently used settings to shortcut buttons for quick access․ Experiment with custom profiles to save your preferred configurations, ensuring a tailored shooting experience․ This feature enhances efficiency and adaptability, catering to both basic and advanced users․
6․2 Advanced Customization Options
The Olympus OM-1 offers advanced customization options, allowing photographers to tailor their experience․ Adjust film speed settings, fine-tune flash synchronization, and explore multiple exposure modes; Users can also customize the viewfinder display and button functions for enhanced control․ The manual provides detailed guidance on these setups, ensuring photographers can leverage every feature to achieve their creative vision with precision and ease, easily․
Playback and Reviewing Photos
The Olympus OM-1 allows seamless photo playback and review․ Users can navigate through captured images, delete unwanted photos, and protect favorites․ The intuitive interface ensures easy image management, enhancing workflow efficiency for photographers․
7․1 Navigating Through Captured Images
Navigate through captured images on the Olympus OM-1 using the intuitive arrow buttons or touchscreen․ Review photos by scrolling through the playback menu․ Use zoom to inspect details or playback in slideshow mode․ This feature allows photographers to efficiently manage and evaluate their work, ensuring a smooth post-shooting experience․ The manual provides detailed guidance on customizing playback settings for optimal image review and organization․
7․2 Deleting and Protecting Photos
Delete unwanted photos using the delete button or through the camera menu․ Protect important images by enabling the protect feature, preventing accidental deletion․ Organize your photos by creating folders or using password protection for sensitive content․ The manual provides clear instructions on managing your images efficiently, ensuring your memories remain secure and easily accessible for future reference․
Maintenance and Troubleshooting
Regularly clean the camera and viewfinder to maintain performance․ Check flash settings and film speed for proper function․ Refer to the manual for troubleshooting common issues effectively․
8․1 Cleaning and Caring for the Camera
Regular cleaning is essential to maintain the Olympus OM-1’s performance․ Use a soft, dry cloth to wipe the camera body and lenses, avoiding harsh chemicals․ For the viewfinder, gently remove dust with a microfiber cloth․ Ensure all components are free from debris to prevent damage․ Refer to the manual for detailed cleaning instructions and best practices to prolong the camera’s lifespan and ensure optimal functionality․
8․2 Common Issues and Solutions
Common issues with the Olympus OM-1 include film rewinding problems, exposure inaccuracies, and flash malfunctions․ For rewinding issues, ensure the film is properly loaded and the rewind button is functioning․ Exposure errors can be resolved by recalibrating settings or using test shots․ Flash issues often relate to incorrect settings or poor connections․ Consult the manual for troubleshooting steps and solutions to ensure optimal performance and resolve problems efficiently․ Regular maintenance and proper usage can prevent many of these issues from arising․
The Olympus OM-1 manual provides comprehensive guidance for optimal performance․ By following its instructions, users can master the camera’s features, ensuring exceptional results and a longer service life․
9․1 Summary of Key Features and Best Practices
The Olympus OM-1 manual highlights advanced shooting modes, customizable settings, and precise film handling․ Key features include intuitive controls, exposure measurement, and flash functionality․ Best practices involve regular maintenance, understanding ASA settings, and optimizing shutter speeds․ Users are encouraged to explore manual modes for creative control and to refer to the guide for troubleshooting common issues․ By following these guidelines, photographers can maximize the camera’s potential and achieve exceptional results consistently․ Proper care and customization ensure a seamless and rewarding photography experience․
9․2 Final Tips for Mastering the Olympus OM-1
To fully master the Olympus OM-1, practice with test shots to refine your technique․ Familiarize yourself with ASA settings and experiment with manual modes for creative control․ Regularly clean and maintain the camera to ensure optimal performance․ Customize settings to suit your shooting style and refer to the manual for advanced features․ By combining technical knowledge with hands-on practice, you’ll unlock the camera’s full potential and achieve outstanding results in every photography session․