hurst roll control installation instructions
Overview of Hurst Roll Control Installation
The Hurst Roll Control system enhances vehicle control during high-performance driving by momentarily locking rear brakes, enabling precise launches and aggressive driving maneuvers with ease․
1․1 What is Hurst Roll Control?
The Hurst Roll Control is a specialized braking system designed to enhance vehicle control during high-performance driving․ It allows drivers to momentarily lock the rear brakes, enabling precise control for aggressive launches and sharp maneuvers․ This system is particularly popular in drag racing and other performance driving scenarios where traction and stability are critical․ By isolating the rear brakes, the Hurst Roll Control prevents unwanted wheel hop and improves overall vehicle stability․ The system typically includes a solenoid valve, wiring, and a control switch, making it easy to integrate into most vehicles․ Its primary function is to provide drivers with an added layer of control, ensuring optimal performance in demanding driving conditions․ Installation is straightforward, and the system is widely used among car enthusiasts for its reliability and effectiveness․
1․2 Benefits of Installing Hurst Roll Control
Installing the Hurst Roll Control offers numerous benefits for performance driving enthusiasts․ It enhances traction during launches by preventing rear wheel hop, allowing for quicker acceleration and improved stability․ Additionally, the system provides precise control over braking, enabling drivers to execute sharp turns and maneuvers with confidence․ The solenoid-controlled design ensures reliable operation, and the system is easy to integrate with existing brake setups․ Another key advantage is the ability to customize braking performance, making it ideal for both competitive racing and recreational driving․ Overall, the Hurst Roll Control delivers a significant upgrade in vehicle handling and performance, making it a valuable addition for drivers seeking to optimize their driving experience․
Components and Tools Required
The Hurst Roll Control kit includes a solenoid valve, mounting hardware, and wiring․ Additional tools like wrenches, drill bits, and brake line fittings are necessary for installation․
2․1 List of Components in the Hurst Roll Control Kit
The Hurst Roll Control kit contains a solenoid valve, mounting bracket, wiring harness, and fittings․ Additional items include a pre-cut template gauge for accurate brake line sizing and male terminals for wiring connections․ The solenoid valve is designed for momentary operation, with a maximum holding time of 60 seconds․ The wiring harness simplifies electrical connections, while the mounting bracket ensures secure installation in the engine compartment․ Brake line fittings are provided to adapt the solenoid to your vehicle’s existing brake system․ A detailed instruction manual is also included, offering diagrams and step-by-step guidance for various installation scenarios․ These components work together to provide a reliable and efficient roll control system for high-performance driving․
2․2 Additional Tools and Materials Needed
Beyond the components in the Hurst Roll Control kit, you’ll need a few tools and materials to complete the installation․ These include a wrench or pliers for brake line connections, a drill for potential mounting holes, and 18-gauge wire for wiring the solenoid․ Male terminals are required for wiring connections, and safety glasses and gloves are recommended for protection․ Brake lines must be correctly sized using the provided template gauge to ensure proper fitment․ Additional materials like thread sealant or Teflon tape may be needed for secure connections․ Having these tools and materials on hand will ensure a smooth and efficient installation process, preventing delays and potential issues during setup․
Preparation for Installation
Before starting, assess your vehicle’s setup, gather all tools, and ensure a clean, safe workspace․ Proper preparation ensures a smooth and successful installation process․
3․1 Mounting the Solenoid Valve
The solenoid valve must be securely mounted in the engine compartment, preferably near the master cylinder․ Choose a location protected from extreme heat and moisture to ensure reliable operation․ Ensure the mounting surface is clean and free of debris before attaching the valve․ Use the provided hardware or suitable fasteners to secure it firmly․ Proper alignment and stability are crucial for the system’s performance․ Follow the manufacturer’s guidelines for optimal placement and tightening specifications․ Double-check the valve’s orientation to match your vehicle’s setup, as incorrect installation can lead to system malfunctions․ Once mounted, proceed to connect the necessary brake lines and wiring as outlined in subsequent steps․
3․2 Preparing the Brake Lines
Before installing the Hurst Roll Control, inspect the existing brake lines for any damage, corrosion, or leaks․ Use a pre-cut template gauge to determine the correct size and length of brake lines needed for your setup․ If replacing lines, ensure they are made of durable, high-quality material suitable for your vehicle’s braking system․ Clean and dry the lines thoroughly to prevent contamination․ Use the correct fittings and adapters to connect the lines securely․ Avoid over-tightening, which could damage the fittings or lines․ Properly route the brake lines to avoid interference with other components․ Once prepared, the lines should be ready for connection to the solenoid valve and master cylinder as outlined in the installation steps․
Installation Steps
The Hurst Roll Control installation involves mounting the solenoid valve near the master cylinder, connecting it to the brake lines, and wiring the control switch․ Follow the sequence carefully to ensure proper functionality and safety․
4․1 Connecting the Solenoid to the Master Cylinder
Connecting the solenoid to the master cylinder is a critical step in the Hurst Roll Control installation․ Begin by identifying the front brake line connected to the master cylinder․ Remove this line and attach it to the inlet port of the solenoid valve․ Next, install a short brake line from the solenoid’s outlet port back to the master cylinder․ Ensure all fittings are securely tightened and brake lines are properly sized using the template gauge provided in the kit․ Double-check the connections to avoid any leaks or misalignment․ This setup allows the solenoid to control fluid flow to the rear brakes during activation․ Always follow the manufacturer’s instructions for specific routing and torque specifications to ensure proper system functionality and safety․
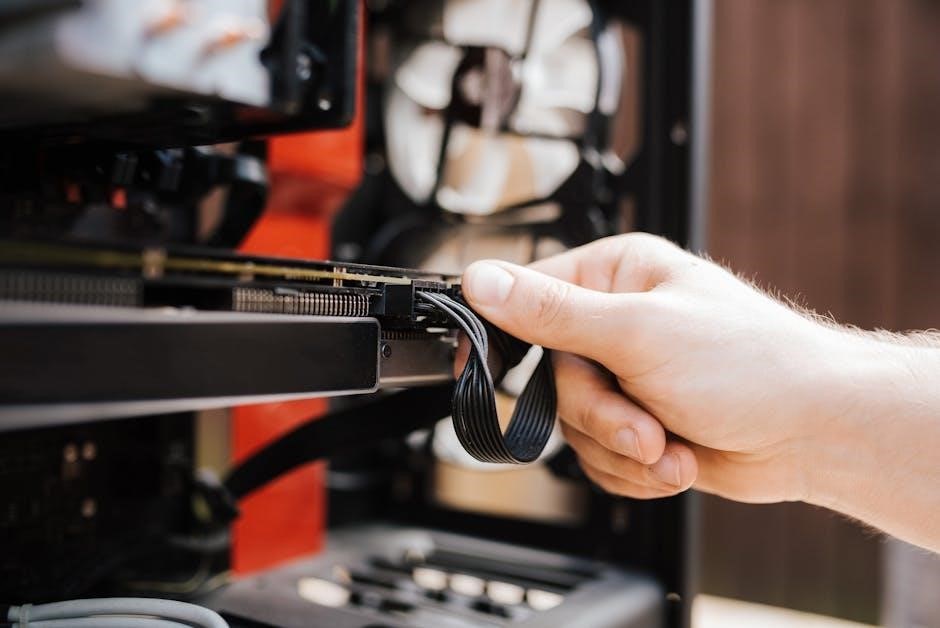
4․2 Wiring the Control Switch
Wiring the control switch for the Hurst Roll Control system involves connecting the solenoid valve to a momentary switch․ Begin by running an 18-gauge wire from the solenoid valve to the switch, ensuring proper insulation and routing away from heat sources․ Connect the positive terminal of the switch to the solenoid’s input wire․ Ground the switch to a clean, bare metal surface on the vehicle’s chassis․ Use male terminals for secure connections․ Avoid using a standard toggle switch, as it may not handle the solenoid’s power requirements․ Test the circuit by activating the switch to ensure the solenoid engages and disengages properly․ Always follow proper wiring practices to prevent electrical issues or system malfunctions․ This step is crucial for reliable operation of the Hurst Roll Control system during high-performance driving scenarios․

Testing the System
Test the Hurst Roll Control by activating the switch to ensure the solenoid engages and disengages properly, confirming the rear brakes lock and release as intended․
5;1 Operating Instructions for the Hurst Roll Control
To operate the Hurst Roll Control, ensure the ignition switch is in the ON position․ Fully depress the brake pedal to engage the system, locking the rear brakes for controlled burns or launches․ Activate the control switch to test the solenoid function, ensuring the rear brakes lock and release properly․ Avoid prolonged activation (over 60 seconds) to prevent overheating․ After installation, test the system thoroughly to confirm proper operation․ Refer to the manual for specific activation sequences and safety precautions․ Regular inspections of the solenoid, wiring, and brake lines are essential for maintaining reliability and performance․
5․2 Troubleshooting Common Issues
Common issues with the Hurst Roll Control may include failure to engage or uneven brake locking․ Check the solenoid valve for proper electrical connections and ensure the control switch is functioning correctly․ Verify that the brake lines are securely connected and free from leaks․ If the rear brakes lock but the front brakes require pumping, inspect the master cylinder connection to the solenoid․ Ensure the system is activated only for short durations to avoid overheating․ Consult the manual for wiring diagrams and activation sequences․ If issues persist, inspect the solenoid for damage or corrosion and test the system with a separate power source to isolate faults․